 |
| Quilted Mug Rug Tutorial |
On 1 May 2017 I nervously published my first post on this blog not
knowing what lay ahead. I have loved the
process of writing about my creative pursuits and I had planned to celebrate my
30th blog post by sharing a tutorial. However, I was away last week and forgot to
get the templates sorted before I went – so this is actually my 32nd
post! – but I still want to say a big thank you to everyone who has read my
blog, commented and supported me.
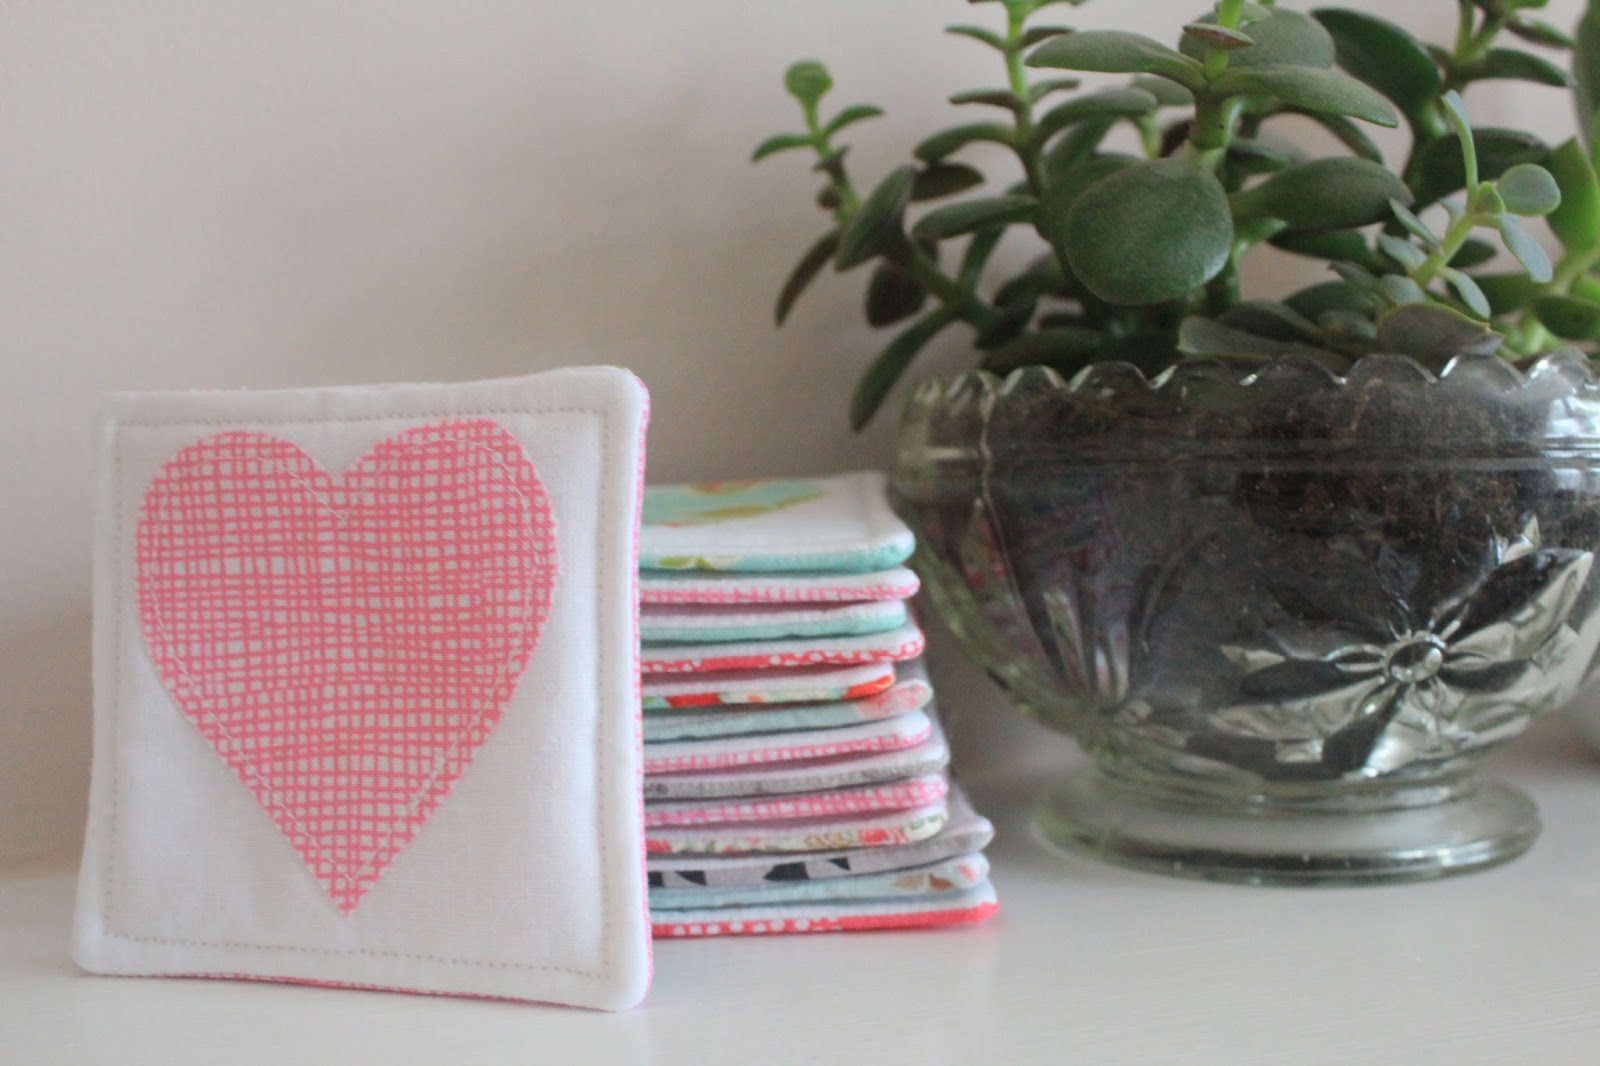
I recently made some mini quilts for a fundraiser – the perfect size for a coffee cup –
and thought I’d share the pattern. This
is a great scrap-busting project, makes perfect gifts and is really easy and
quick to make. Enjoy!
Quilted Mug Rug Pattern
You will need:
Scraps of
patterned fabric
Scrap of plain
fabric
Bondaweb
Scrap of quilt
wadding/batting
Print out of the
templates, which can be downloaded here
1. From your
patterned fabric cut a 5 x 5 inch square – this will be the back of your mini
quilt.
2. From your
plain fabric cut a 5 x 5 inch square – this will be the front of your mug
rug.
3. Cut a 5 x 5
inch square of quilt wadding/batting.
4. Take a scrap
of patterned fabric just bigger than the bondaweb template and then use the
template to cut a piece of bondaweb. The
fabric will be slightly bigger to avoid the bondaweb sticking to your ironing
board.
5. Iron all of
your fabric pieces to ensure they are smooth and crease-free.
6. Mount your
bondaweb onto the back of the patterned scrap.
Ensure you iron the paper-covered side and don’t overlap the bondaweb,
otherwise it will stick to your ironing board.
7. Use the heart
template to mark the back of the bondaweb (using a pencil or biro) and then cut
out your heart.
8. Remove the
backing paper from the heart so that it is ready to mount onto your piece of
plain fabric. Position it in the centre
of the square and iron into place. Sew
the heart into place either on your machine or by hand as you wish.
9. On a flat
surface lay your square of wadding/batting ensuring that it is flat. On top of it lay your patterned square of
backing fabric with the right side facing up.
Again ensure it is flat. Finally
add the plain fabric square with the heart applique facing down. Ensure all layers are flat and aligned. Pin the three layers together.
10. On a sewing
machine use a ¼ inch seam allowance and sew around the outside of the square
leaving a two inch gap in the centre of one of the sides.
11. Snip the
corners off the quilt carefully and turn through the gap that was left. Carefully ensure the corners are completely
pressed out (a knitting needle may be required to assist you) and iron the
quilt, ensuring that the opening is ironed closed.
12. Finally topstitch
the quilt around the outsides to add decoration and to close the hole.
Comments
Post a Comment