 |
| Linus Love Applique Quilt |
I have long been inspired by creative blogs
and dreamed of writing my first quilt pattern/tutorial. I recently decided that now was the time to
undertake this and have decided to dedicate it to Project Linus UK. You may have read in my recent blog post about Project Linus UK after I recently gifted my first
quilt to them.
In 2016 I made two scrappy heart quilts as
commissions and thought something similar would be super-cute for a baby/child
quilt. I have done some applique quilts for my little Pickle including a money and some owls. So here is my tutorial for the
Linus Love Quilt – I hope you enjoy making one of these and might even consider
donating a quilt to Project Linus (for details of local coordinators in your
area click here).
You will need:
1m plain or low volume background fabric (I
love plain white)
1m of quilt wadding and 1m of backing
fabric (or just 1m of micro fleece)
Assorted scraps of fabric (see templates
for sizes)
1m bondaweb
Skinny quarter of binding fabric or 4m of
pre-made binding
Templates
Download and print this template. Cut each of the pieces out. I then like to mount them onto card to make
them easier to use but this is not necessary.
Tip: any sort of cardboard from your recycling will do for this.
From your fabric, cut pieces just larger
than the rectangle templates. Cut 15 of
template 1, 14 of template 2 and 13 of template 3.
Use the same templates and cut pieces of
bondaweb the same size as the template.
You will need the same quantities as above: 15 x 1, 14 x 2 and 13 x
3. Note, you need to cut the fabric
slightly larger than the bondaweb to avoid it sticking to your ironing board.
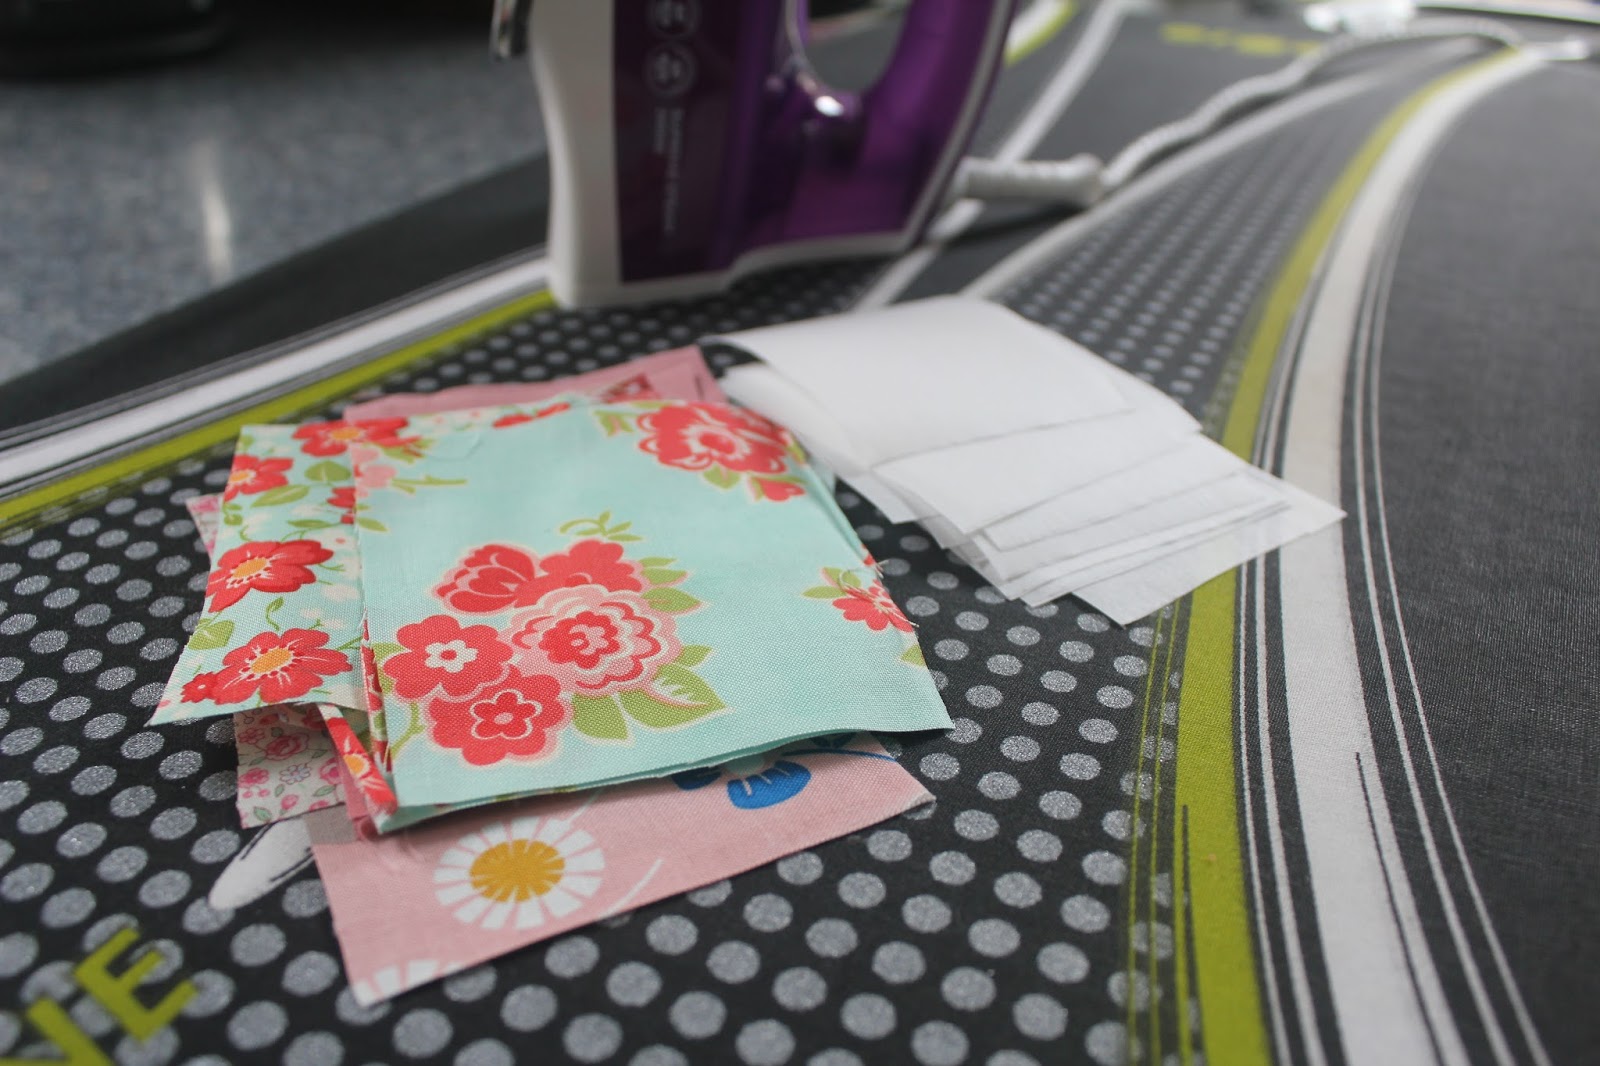
Iron all of your fabric scraps to ensure
they are smooth and crease-free and then mount bondaweb onto the back of each
piece. Ensure you iron the paper-covered
side and don’t overlap the bondaweb, otherwise it will stick to your ironing
board.

Use the heart templates to mark the back of
each piece of fabric (I use a pencil or biro) and then cut your hearts. Again you will need the following quantities:
15 x 1, 14 x 2 and 13 x 3. Then, cut out
each of the hearts.


Remove the backing paper from the hearts so
they are ready to mount onto your fabric.
Take your background fabric and cut a piece
36 x 36 inches. This is a size that
works well for children or laps!
Having printed the template document at the
start, now take the pieces that show the positioning of the hearts and stick
them together using the diamonds to match the pieces together.
Once completed, use the plan to guide you
to position your hearts onto the fabric.
You can either do this by sight or place the paper under the fabric and
place the hearts on top. Once you are
happy with the positioning you can iron the hearts to secure them.
Use your sewing machine to applique the
hearts and further secure them. You can
either use a traditional straight stitch, slowly moving the fabric around to
make a heart shape or you can drop you feed teeth and free-motion them. I would suggest practising on a separate
piece of fabric before jumping onto the main quilt.

Once all of the hearts are sewn, it is time
to start constructing your quilt. There
are two methods for doing this. Either
layer backing fabric (right side facing down), quilt wadding and then your
quilt top and secure together using tacking, spray adhesive or quilting
pins. Or you can layer fleece and the
quilt top and again secure them using tacking, spray adhesive or quilting pins. Normally I would use wadding and backing
fabric but for this particular one I have gone for the fleece option, being
good for use in hospitals etc. as it is easy to wash and quick to dry. My personal preference is to secure the
layers with curved quilting pins but any of the aforementioned will work.

Next you want to increase your stitch
length and start quilting the layers together.
You can do this in any design that you like, but I prefer simple
designs. For this one I quilted two
hearts around the outside of the scrap hearts and added a couple of straight lines
near the top and bottom of the quilt.
Finally you will need to bind your quilt. For this there are two options: use a pre-made
binding, or make your own. I always
prefer to make my own binding but pre-made is a much quicker option. If you fancy making binding please see my
binding tutorial.

And now you are done. Congratulations! If you are a quilter I would urge you to make
and donate a quilt to Project Linus (even if it isn’t this design) and help a
poorly baby or child in your local area.
If you have used this free tutorial and wish to make a donation to
Project Linus UK please click here.

Thank you for this tutorial. I've been "lurking" on Project Linus' Facebook page for a while now, never having been confident enough to make my own quilt. But I have done appliqué before so I think I will try this. Thank you! ��
ReplyDeleteGood luck LJT79 - I really hope you enjoy!
ReplyDelete